We are very busy here on the farm making all of the preparations for the start of the season. The planning process started before the end of the 2012 season.
We start by selecting our crops for the upcoming season. We must consider several things when making this decision.
- Available crop space
- Popularity of item
- Diversity of crops
- Requests from our customers
- Success of previous crops
After developing a crop plan we then purchase the seeds.
We start some of our plants from seed meaning that we do not plant them straight into the ground. This helps to ensure the successful germination of the plant.
Germination is defined as beginning of growth of a seed. We say that a seed has germinated after the plant is visible above the soil and has its two first two true leaves.
Around the beginning of February, Carol starts seeding.
First she looks at the sheet that Dale prepares that tells her when to seed each crop, what varieties to seed and how many seeds to plant.
Next she takes the seeds and checks the germination rate. This is the proven success rate of each individual seed. This is done by the seed company to tell the farmer how many plants to expect out of 100.
The Bell Peppers that Carol is planting here have a germination rate of 95% meaning that 95 out of every 100 plants will germinate. This tells Carol how many extra seeds to plant to come to the desired number of seedlings.
Each plant takes a different amount of time to germinate. We are able to start these seedlings so early by keeping them in a greenhouse.
The seeding process starts with a flat of 128 wells. These wells are then lightly packed with germinating soil mixture. To make room for the seeds another flat is stacked on top and firmly pressed into the soil.
Years ago we did all seeding by hand. To speed up the process we introduced a vacuum tray.
Carol first puts a small handful of seeds onto the tray.
Next she turns on the vaccum which pulls the seeds toward the 128 holes on the vacuum tray. Then she shakes the tray to spread out the seeds and fill in the holes.
When all of the holes are covered, she then dumps out the excess seeds into a tray.
Then she turns the tray over on the prepared flat to match up the seeds and the wells. Then she releases the vacuum and the seeds fall into their appropriate spaces.
Then the seeds are covered by another layer of soil and tagged with their variety.
Then they are placed on a bench with a heated pad that keeps the seedlings at a cozy 70 degrees. This helps speed up germination.
The temperature of these beds are monitored closely with a special thermostat that automatically increases the temperature if it gets too low.
The seedling then are watered.
The seedlings dry from the bottom up because of the heating pad so their moisture needs to be checked often.
As the seedlings begin to reach the surface of the soil their roots are already rooting into and wrapping around the soil below.
Many of our seedlings will be transplanted into the fields after just a few weeks of growing. Right now we are about to move cabbage, broccoli, cauliflower, collards, and kale into a cooler greenhouse so they are not shocked by the temperature change. They can handle a frost after they have been exposed to cooler temperatures for a few weeks.
Before they are transplanted into the fields they must have a solid root system that holds the soil tight.
Other vegetables like tomatoes, eggplant and peppers are transplanted into a larger flat to further grow their root system. This is because their fruit grows higher on the plant and needs a better base of support.
The peppers that Carol has planted today will remain in the greenhouse until around the end of May when the weather warms up significantly.
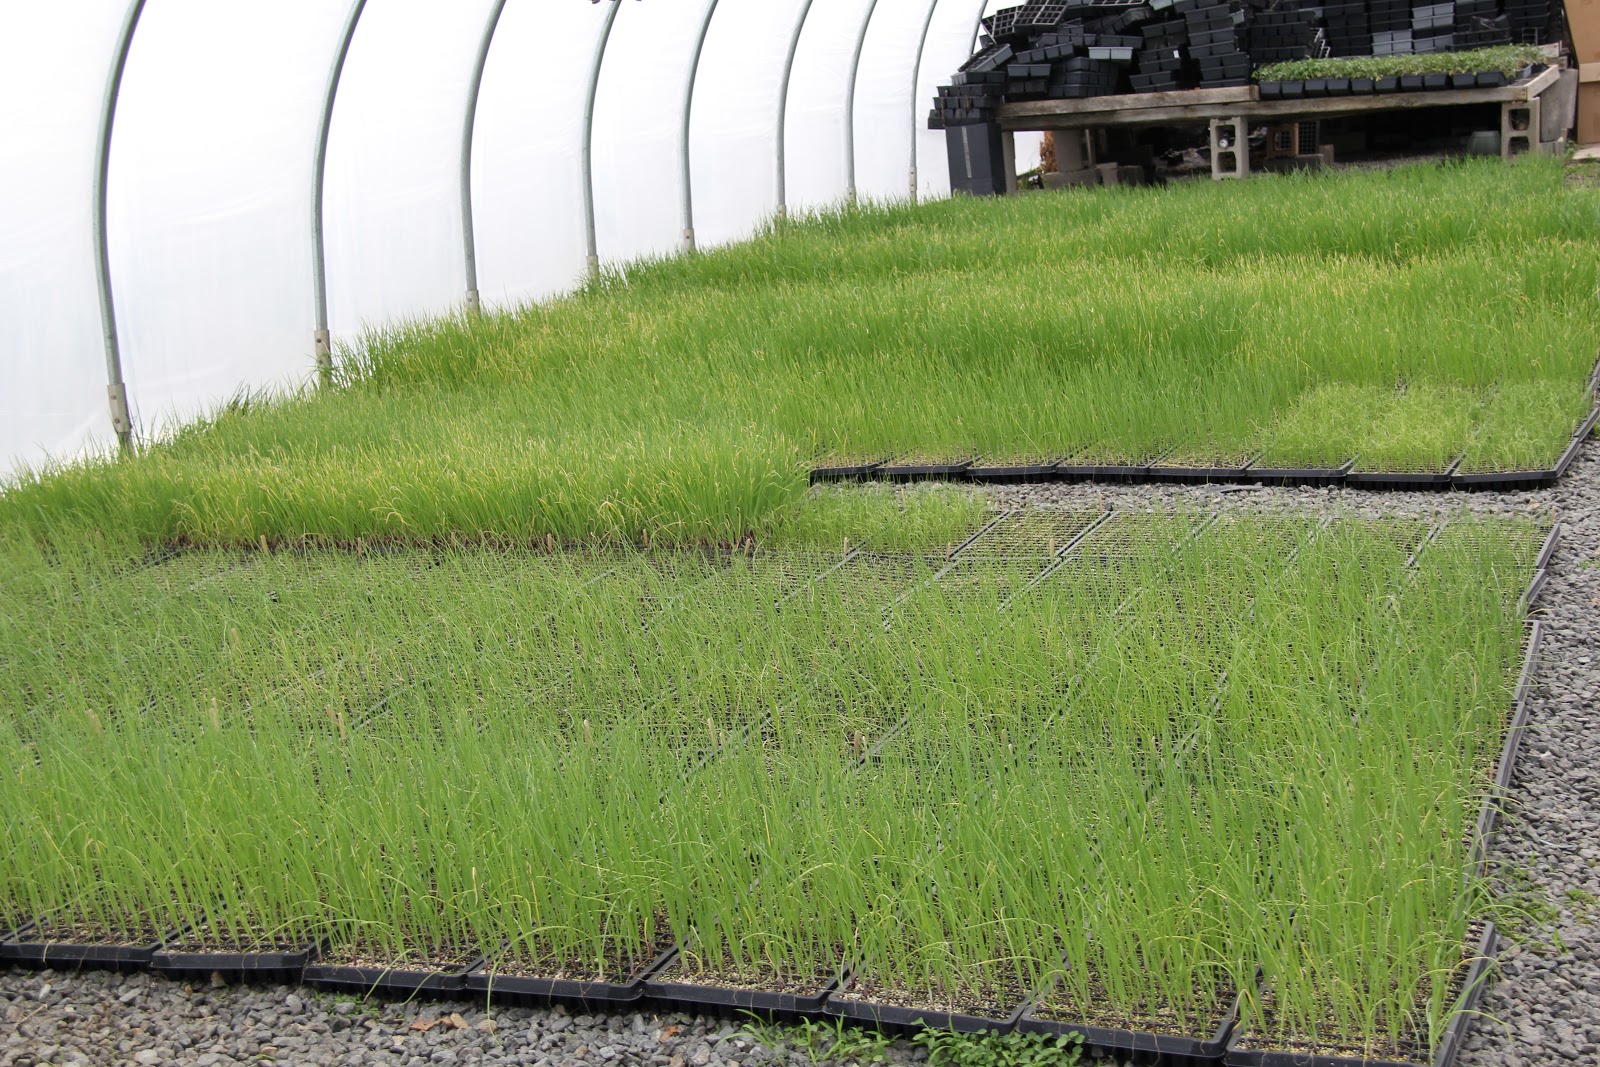
Now our seedling house is packed full of onions, scallions, broccoli, cauliflower, cabbage, kale, collards, peppers, eggplant, and tomato seedlings.
We cannot wait until the weather warms up so we can get planting! But before that can happen we need to start waking up the soil. :)